Page History
...
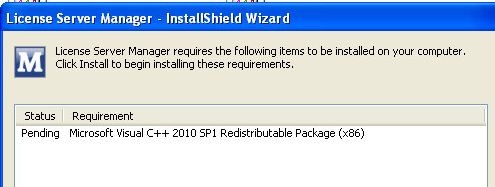
If Prerequisites are needed those are installed first.
The next step of the setup is to install the License Server Manager.

Click Next to continue.
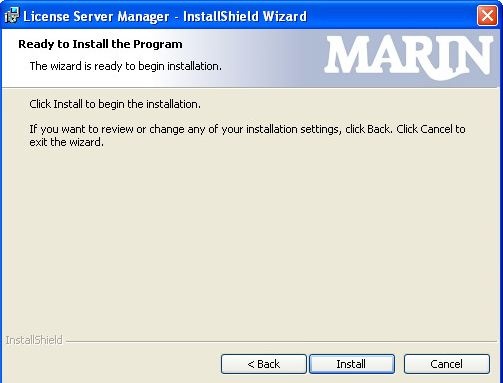
Click Install to start the installation and configuration of the License Server Manager.
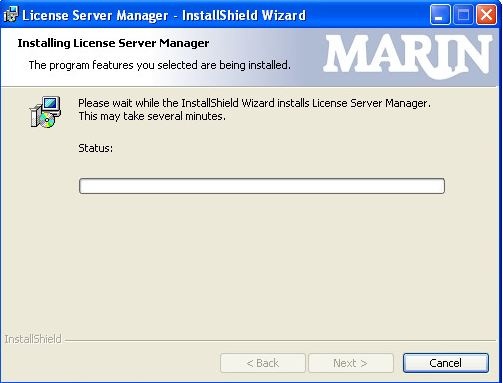
Wait until the installation completes.
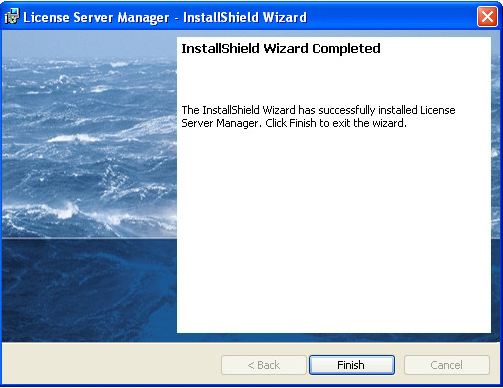
Click Finish to complete the installation process.
...
The FlexNET publisher server is operational and available through a webinterface at:
http://localhost:8080/
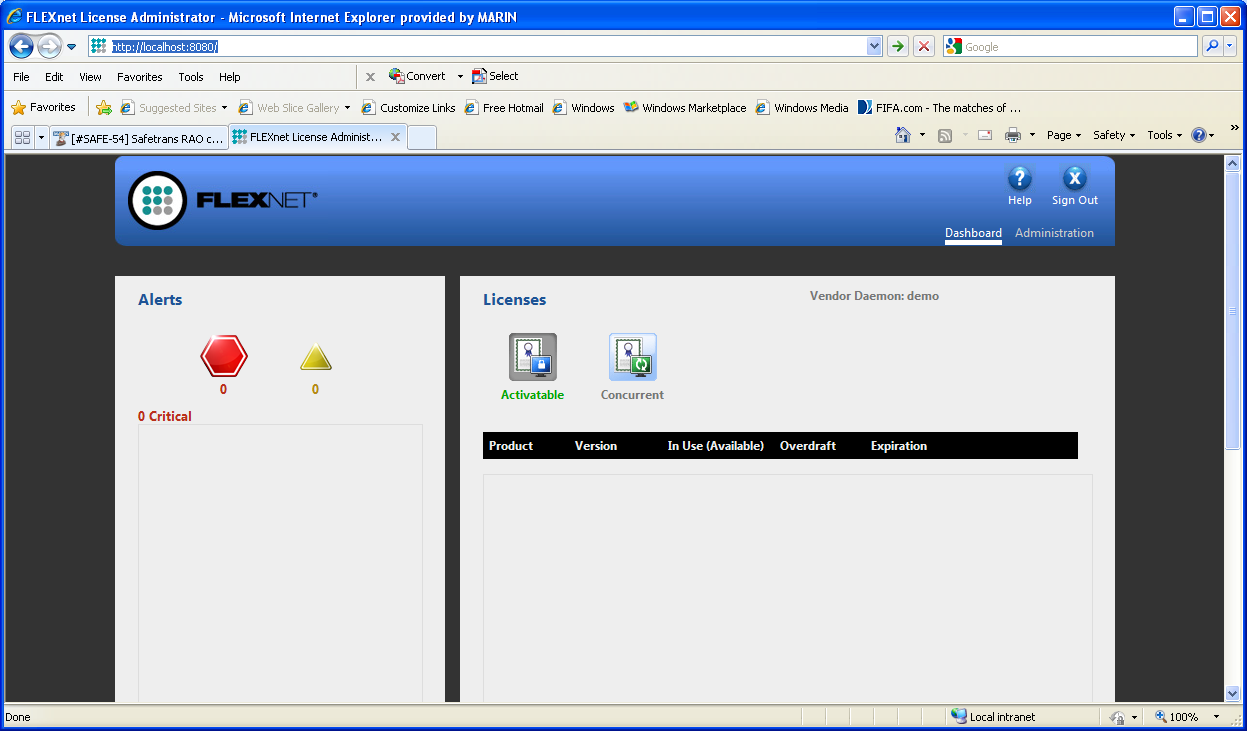
Set the Licenses to ‘marinlmd’, click ‘Select’ and ‘Concurrent’ to view all available licenses which can be issues by the marinlnd daemon.

Use of the Dashboard requires no additional login. To change or add licenses the Administration login needs to be used. Click ‘Administration’.
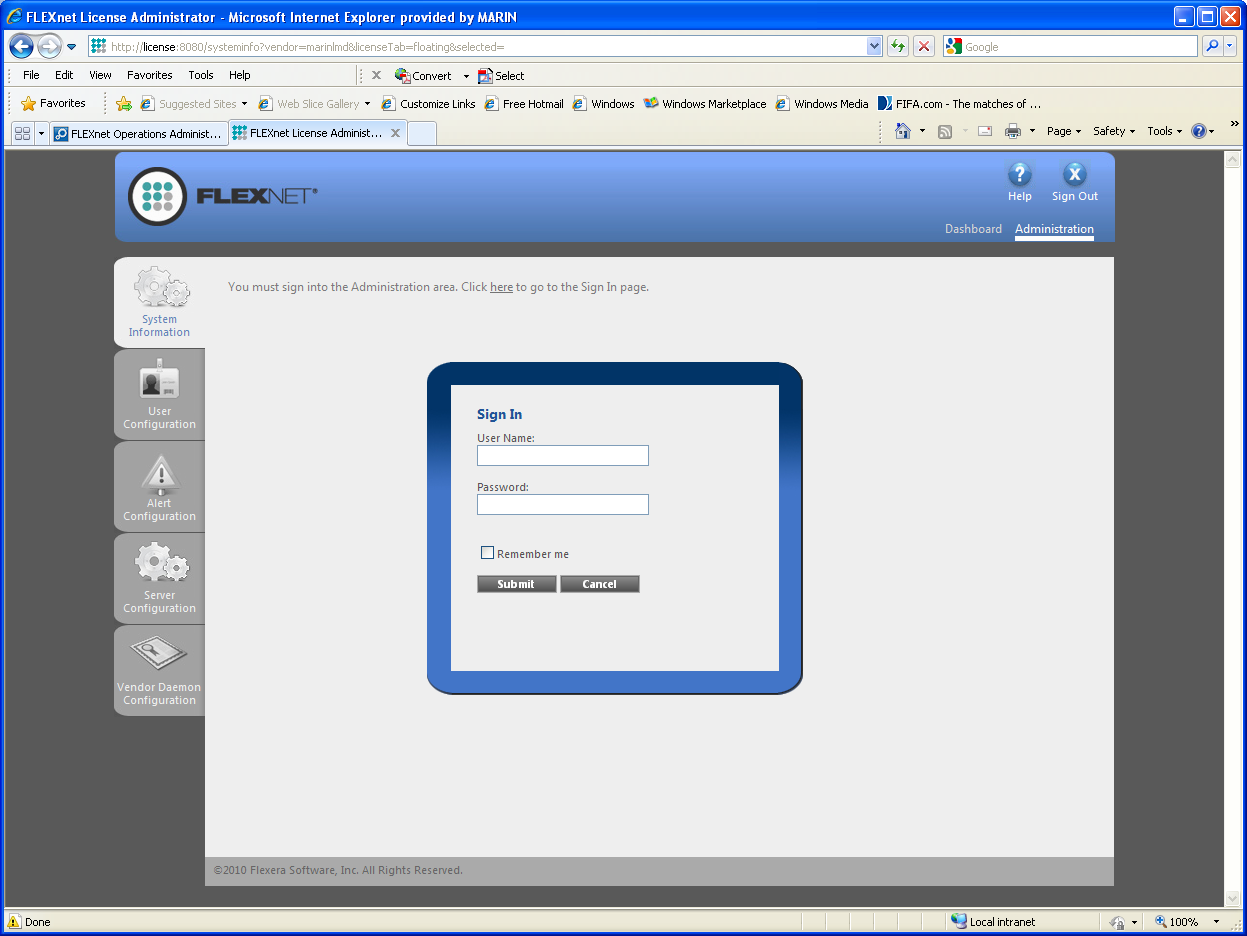
When lmadmin is first installed, the administrator user name and password are both set to admin. Use this information when you first sign in to FlexNET license manager as Admin. You are required to change the password after the first login.
In Administration mode there are 6 settings of which ONLY 1 is needed to update license information: Vendor Daemon Configuration. The other 5 are only for viewing and changing system information.
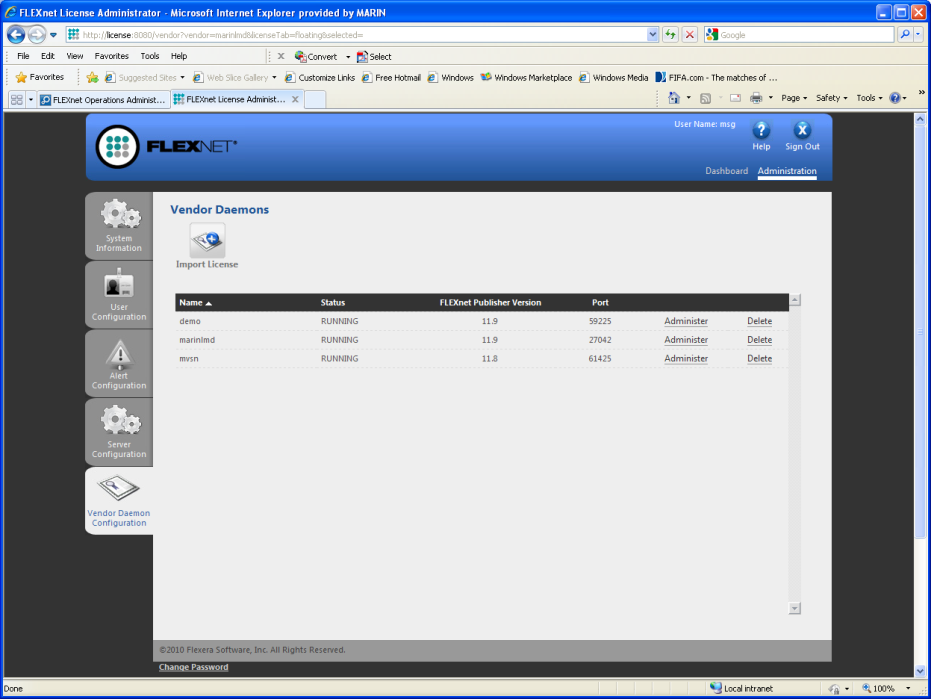
Using the Vendor Daemon information a license file can be imported. After importing this license file license for the products are available on the license server. Use the Browse button to locate the license file to upload. Select ‘Overwrite License File on License Server’ and click ‘Import License’.
...
To use the licenses on the license server for your client PCs see Product Activation using the FlexNET licensing servicea floating license on a license server
Overview
Content Tools