Page History
...
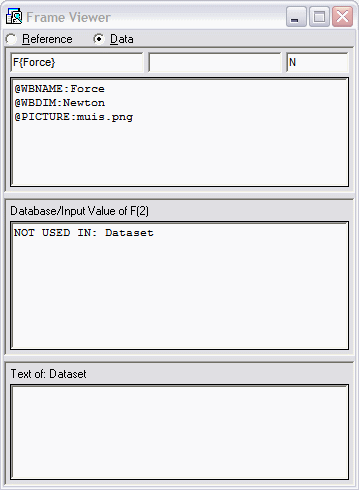
Optionally you can create your own presentation dimensions by using the @WBDIM attribute in the data slot of the parameter. For example, for parameter F you can give the unusual dimension @WBDIM:Newton. Please note that you should have a normal dimension at first before defining the alternative one. The alternative dimension is presented right away.
...
Furthermore, advanced syntax functionality can be used to define different reference text for a parameter when it is part of different objects. You can recognise that the parameter has a different reference text in different object by the fact that the text in reference part of the Frame Viewer is italic. Please note that this functionality is a bit special. You can edit the text of the parameter for the different objects by selecting the parameter in the relevant object in the workbase (for instance in the data set or in a solution) and change the text it presents. What is also possible is to press F2 when you your cursor in the Frame Viewer to open the content in a separate text editor. When you have already used the syntax, you will discover this in the external editor (it will never be visible in the Quaestor GUI itself). The syntax works as follows:
To start the definition use:
><
This if followed by the generic description (in orther than defined objects):
=misc=$Description
With Discription the general discription. Hereafter a description can be defined for within every object:
=ObjectName=$SpecialDescription
With ObjectName the name of the object it is valid for and SpecialDescription the description in this object. For example, the parameter VOL can be used with different definitions in the SPEEDTRIAL object and POWERING_MODEL_TEST_DATA object, both in the solution and in the data set below the Ships object entry:
><
=misc=$Displacement volume on trials
From the speed trial data.
=SPEEDTRIAL=$Actual displacement volume on trials
This is the actual displacement volume corresponding with the actual loading condition during the trials.
Although the ship should be ballasted as accurate as possible on the specified trial condition, small differences are to be expected. Provide the actual value so that small displacement corrections can be made relevative to the specified displacement on trials.
=POWERING_MODEL_TEST_DATA=$Actual displacement volume model test
Note that the displacement volume is used to determine whether the modeltest can be used in the analysis for the conversion of speed trial results to another draught or loading condition.
The actual displacement should be within a boundary of 5% of the model test volume. If this is not the case, the model test can and will not be used for the trial volume correction to other loading conditions.
=Ship.SPEEDTRIAL=$Actual displacement volume on trials
This is the actual displacement volume corresponding with the actual loading condition during the trials.
Although the ship should be ballasted as accurate as possible on the specified trial condition, small differences are to be expected. Provide the actual value so that small displacement corrections can be made relevative to the specified displacement on trials.
=Ship.POWERING_MODEL_TEST_DATA=$Actual displacement volume model test
Note that the displacement volume is used to determine whether the modeltest can be used in the analysis for the conversion of speed trial results to another draught or loading condition.
The actual displacement should be within a boundary of 5% of the model test volume. If this is not the case, the model test can and will not be used for the trial volume correction to other loading conditions.
1.1.4 Optional parameter illustration connected through Slots & Properties
...
We strongly advise to use the QKnowledgebaseVersion parameter as your starting point for external data for the following reasons:
- The menu item Help>Show documentation of... is connected to this parameter;
- QKnowledgebaseVersion by default has the @SHOWASFIRST attribute;
...
1.1.6.b Reference to QBinaryID
Instead of including a binary to a single frame, you can also make a database with binaries in the Dataset of the knowledge base and refer to this data (for further information see also Image Management ).
...
This is particularly interesting when you want to use a binary more than once. Furthermore, when you have created a QBinaries object containing a QBackground parameter (in the above example "Company.gif"), Quaestor will automatically show this background picture when the QBinary of the QBinaryID case is empty (see "bin2" in the example above).
...
When you have used the <EQ> statement in the reference slot of the parameter to create a select list of explicit values for a parameter (see also a Tips and Tricks forum item), you are able to connect values of the parameter to a particular picture. You simply add ":bin3" or any other QBinaryID to one of your <EQ> values and when this value is selected, it will be presented as picture with the selected parameter value in the Workbase.
...
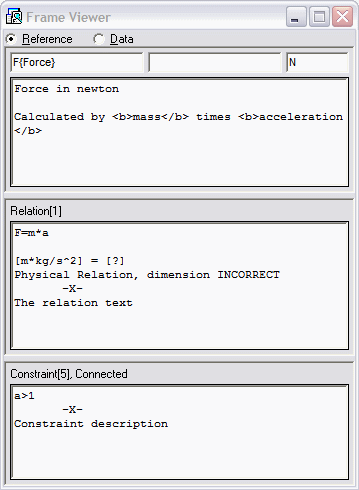
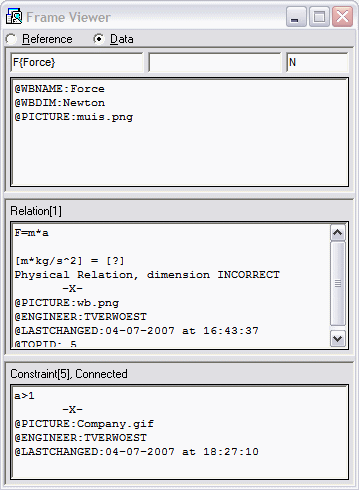
In addition, you can give a reference description and connect a binary. This basically works the same as for relations, but information is provided in the third part of the Frame Viewer.
The reference text of the constraint is written in the third part of the Frame viewer (see the text "Constraint description" in the left side window). The binary can be included into the frame again and the link is provided by the @PICTURE attribute (see @PICTURE:Company.gif in the right side window).
...
At the same time, all type of information is presented in the Explanation window at the left side of the Workbase (see Quaestor interface for more details).
The Explanation window presents all information on the selected parameter, relation, constraint or function, depending on user rights and settings of Quaestor (just play around to see what happens).
Because there might be an information overkill, you are able to customize what you see in the Explanation tab of the Options window.
This window provides all the options related to the presentation of information for:
...


